New Home Construction Checklist: Step‑By‑Step Guide

Building a new home is a complex, multi-stage project that can take months to complete. The entire process typically breaks down into three phases: pre-construction, physical build, and post-construction.
From securing financing to handing over the keys, construction takes 5 to 9 months for new homes, though the full timeline from first plans to move-in can stretch 10 to 18 months when you factor in delays from weather, permits, or material shortages.
A construction checklist should be organized chronologically so nothing slips through the cracks. This guide walks prospective homeowners through every phase, giving you a printable roadmap you can bring to every site visit and builder meeting.
Before You Commit to a New Home (Financing, Lot & Builder)
The very first checklist items happen before you sign any document with a builder or lender. Decisions about budget, location, and who builds your house will shape every choice that follows. Getting these right saves you from expensive mid-build corrections.
ViSitemap offers free construction calculators, including mortgage, material estimation, and budget tools, to help you get realistic numbers before you ever tour a model home. Use them to translate your wish list into hard figures.
Key steps in home building involve securing financing, selecting a lot, and hiring a builder. Here's what to tackle first:
- Get pre-qualified or pre-approved. A 24-hour pre-qualification gives a real budget number. Pre-approval goes deeper with verified income, credit, and assets, and typically lasts 45–90 days. If you're targeting a price range like $350,000–$750,000, know your ceiling before you fall in love with a plan you can't afford. Buyers should secure financing before purchasing land.
- Compare construction loans vs. conventional mortgages. A construction loan covers only the cost of building; it disburses funds in draws as work progresses and typically requires 20% down with higher interest rates. Homeowners need a long-term mortgage after construction loans, usually converting at completion. Conventional mortgages apply when buying a finished spec home.
- Choose production vs. custom builder. Production home builders in a subdivision offer lower per-square-foot cost, faster timelines, and predictable budgets, but limited customization. A custom builder on a private lot gives full architectural control, though it costs more and requires longer design and permit timelines. Designing a home often requires hiring an architect when going custom.
- Shortlist 2–3 neighborhoods. Evaluate each community by commute time, school districts and ratings, property tax rate, and resale value. A neighborhood with strong resale demand protects your investment over the life of the home.
- Research builders. Visit at least 3 model homes. Read local online reviews from the last 12–24 months. Talk to current homeowners about warranty response times. Assembling a team of professionals is essential before beginning construction, and your builder is the most important hire.
- Confirm your lot. Review the exact homesite on the plat map. Check orientation (north/south affects solar gain), slope (impacts foundation cost and drainage), and distance to utilities. A real estate agent can assist in buying land and navigating easements, setbacks, and flood zones.
It is essential to establish a strict budget that includes a buffer for unforeseen costs. A realistic budget should include land costs, permits, and a contingency fund.
Contract & Pre‑Construction Planning
Pre construction spans from the moment you sign the purchase or build contract through permits, design selections, and site preparation, right up until framing begins. This is when ideas become locked-in decisions, and changes after this point get expensive fast.
- Review the purchase contract. Have a real estate attorney or knowledgeable agent review the spec sheet, option addendum, and change order policy. Pay close attention to allowances (budgeted amounts for items not yet finalized), escalation clauses (who absorbs material cost increases), and vague language about finish grades. Homeowners should document all change orders in writing.
- Verify the floor plan. Finalizing home plans includes floor plans, bedroom counts, and structural details. Confirm gross and net square footage, ceiling heights, and whether the plan has been built locally before. Seeing a completed version in person helps avoid surprises about room brightness or livability.
- Lock in structural options early. The foundation may involve a slab-on-grade, crawl space, or basement. Decide now on garage size (2-car vs. 3-car), covered patio, extra windows, and fireplace. These often can't be changed once construction starts.
- Schedule design center meetings immediately. Home design selections should happen early to avoid delays. Pick flooring, cabinets, countertops, plumbing fixtures, appliances, and paint colors. Bring physical samples and pre-approved budgets.
- Create a preliminary calendar. Build your home building checklist with target dates for permits, excavation start, framing, mechanical rough-ins, and projected completion. Pre-construction includes financing, permitting, and site evaluation tasks.
- Clarify inclusions vs. upgrades. Confirm what's standard and what costs extra: landscaping (sod vs. seed), sprinkler system, window blinds, upgraded appliances, and hardware. Building preparation requires land surveys, title searches, and utility access checks before any dirt moves.
Homeowners should list must-haves versus nice-to-haves before the design center visit. The average cost to build a home ranges from $110,665 to $452,218, and upgrade choices are the fastest way to push past your budget.
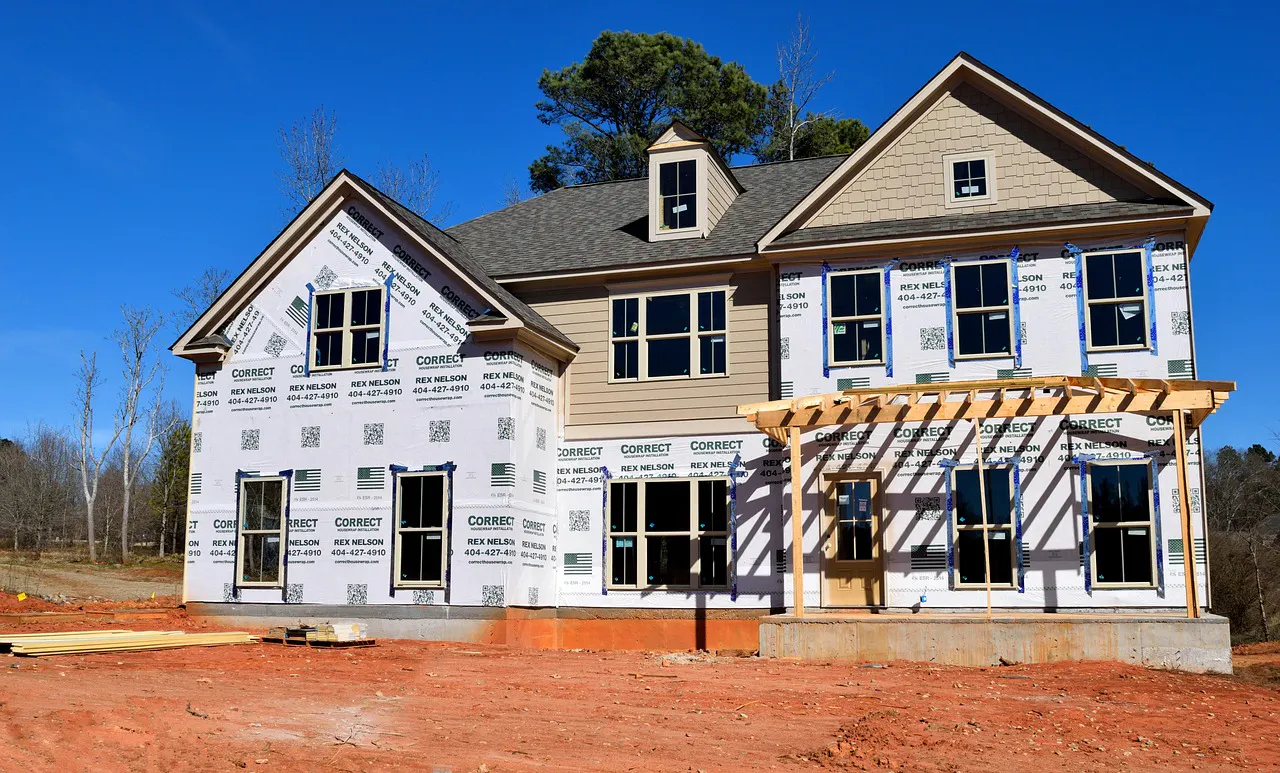
Site Prep, Foundation & Framing
This is where your new home moves from paper to a visible structure. Excavation, footings, foundation, and rough framing happen in rapid succession, and quality control here prevents problems that are brutally expensive to fix later.
Verify all permits. Permits must be secured from local authorities before construction. Confirm approvals for zoning, excavation, foundation, and stormwater runoff before heavy equipment rolls onto the site. Proper site selection requires checking zoning regulations and utility access.
- Confirm foundation type. Verify the foundation type matches your contract. Comparative costs for a 1,500 sq ft home: slab roughly $6,000–$12,000; crawl space $10,500–$21,000; full basement $30,000–$45,000 unfinished. Foundation work is best scheduled from March to November.
- Walk the lot after excavation. Site preparation includes clearing trees and grading the lot. Understand drainage patterns, driveway location, and how the house will sit relative to neighboring property and the street. Correct slope from the foundation should be at least 6 inches of drop in the first 10 feet outward.
- Inspect the foundation. Before backfilling, check for cracks, honeycombing, correct anchor bolt placement, and plumbing stub-outs. Verify waterproofing and vapor barriers where required.
- Schedule a framing walkthrough. When framing is roughly 80% complete, compare the actual structure to your signed drawings. Framing constructs the floor, wall, and roof skeletons of the home. Check room dimensions, window and door openings, ceiling height, and roof pitch. Framing must pass inspection before adding doors and windows.
- Check framing quality. Look for straight walls, properly sized openings, correct joist spacing, structural hardware (hangers, connectors), and sheathing. Common framing inspection failures include oversized holes in joists, missing shear wall ties, and deviations from the plan.
For readers acting as owner-builders, use ViSitemap's framing and concrete calculators to verify quantity estimates before ordering materials and avoid overcharges.
Rough‑Ins, Insulation & Interior Shell
This phase covers plumbing, electrical, and HVAC rough-ins, followed by insulation, drywall, and initial interior painting. Rough-ins involve installing plumbing, electrical, and HVAC systems behind walls. Mistakes here get buried, so walk through before anything is covered up.
The sequence runs: rough-ins → inspections → insulation → drywall → primer paint.
- Confirm plumbing locations. Rough-ins include installing pipes, vents, and wiring before insulation. Verify stub-outs for the kitchen sink, island sink, primary bath shower, laundry room connections, and exterior hose bibs. Check pipe materials (PEX, copper, PVC) and drain slope.
- Verify electrical rough-ins. Confirm electrical outlets meet code spacing (generally every 12 feet along walls), dedicated circuits for major appliances (oven, dishwasher, HVAC, washer/dryer), and ample lighting in kitchens and hallways. Pre-wire for internet, security systems, and smart home features. Plan USB and GFCI outlets around water, the garage, and outdoor areas.
- Check HVAC design. Verify the system size is appropriate for local climate using a Manual J load calculation. Confirm return air locations, duct sizing, insulation around ducts, and placement of the outdoor condenser pad. Make sure supply vent locations don't conflict with furniture layouts.
- Walk the framed space one last time before drywall. This is your last chance to request small adjustments: an extra outlet behind where the TV will go, a light switch relocation, or an additional hose bib. After drywall, changes cost significantly more.
- Review insulation type and R-values. Insulation R-values of R-13 in walls and R-38 in attics are typical minimums. Confirm coverage for exterior walls, attic, over the garage, and around mechanical rooms to meet or exceed local energy code. Energy efficiency starts here.
- Confirm sound-dampening insulation. Optional but valuable in laundry room walls, shared bathroom walls, and between floors of a two-story home.
The exterior shell is made water-tight by installing siding, windows, and doors during this phase, protecting the interior work from weather as finishes begin.
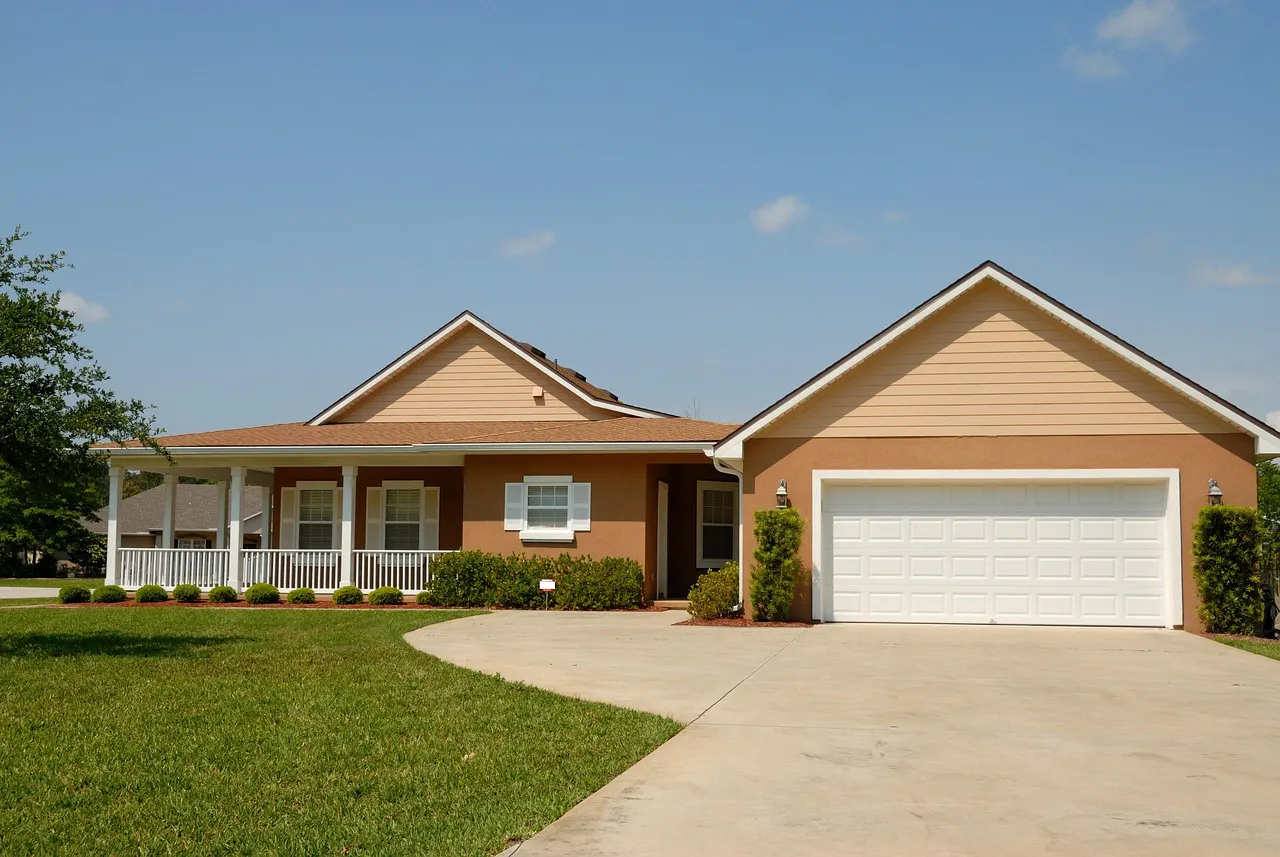
Exterior, Interior Finishes & Room‑By‑Room Details
This is where the home's exterior appearance and interior livability come together. Siding, roofing, trim, flooring, cabinets, and fixtures all go in. Interior finishes include hanging drywall, installing trim, and laying flooring. Walk room by room with your checklist in hand.
Exterior
Inspect the home's exterior carefully: siding or brick installation should be aligned with tight joints and proper caulking. Review roofing materials, gutters and downspouts (correct slope to move water away), exterior paint and trim, and driveway or walkway placement. Confirm the address is visible from the street.
Garage
Confirm garage door sizes, opener installation, exterior keypad, lighting inside and outside, and any planned storage or workshop space. Check floor slope and weather stripping.
Kitchen
Verify cabinet layout and door alignment. Check appliance clearances (dishwasher next to sink, microwave over cooktop). Countertop seams should be minimized and well-aligned. Confirm backsplash details and the location of outlets above counters and on the island.
Bathrooms
Inspect tile installation for consistent spacing and grout color. Verify shower waterproofing (membrane or pan liner) and correct slope toward drains. Exhaust fans must vent to the exterior, not into the attic. Check all plumbing fixtures for leaks and proper water pressure.
Laundry Room
Review the laundry room location (ideally near bedrooms or mudroom). Confirm space for side-by-side vs. stacked units, a drain pan under the washer hookup, and the dryer vent path (shortest route, proper material). Plan for storage cabinets and a small folding counter if space allows. Ventilation here is critical.
Flooring & Trim
Walk the entire house checking transitions between different flooring materials for level surfaces and no gaps. Stair treads and risers should be uniform. Baseboards and trim should sit tight against the wall with clean caulk lines. High-traffic areas like entries and mudrooms need durable surfaces such as tile or waterproof laminate.
Pre‑Closing, Final Walkthrough & Move‑In Readiness
This is the stage where punch-list items are completed, warranties are handed over, and you prepare to move into your new home. A punch list identifies minor issues or unfinished tasks before closing-and catching them now saves you from chasing the builder after you have the keys.
- Schedule the final walkthrough. Homeowners should schedule a final walkthrough 7–10 days before closing so there is time to address paint touchups, damaged trim, missing hardware, and incomplete change orders. Final walkthroughs with builders can create a punch list of minor issues to address before closing.
- Test every system. Flip every light switch and test each outlet, including GFCIs. Run faucets, flush toilets, and check the water heater settings. Test HVAC in both heating and cooling modes. Open and close every window and confirm all doors latch and lock. Test garage doors, including reverse sensors. Final inspections ensure all systems conform to local building codes.
- Verify exterior details. Confirm grading slopes away from the foundation for drainage. Check downspout extensions, patio or deck condition, railings, and installed landscaping. Take photos of everything.
- Collect all documentation. Gather the builder warranty (typically 1 year workmanship, 2 years major systems, 10 years structural), appliance manuals, paint color names and codes, maintenance schedules (filter sizes, HVAC service intervals), and contact info for key subcontractors.
- Locate and label shut-offs. Find the water main, individual fixture shutoff valves, gas shutoff, electrical main breaker, and outdoor hose bibs. Test smoke and CO detectors. Confirm services are connected and functional.
- Prepare for closing day. Bring a valid photo ID (driver's license or passport), certified or cashier's check (or wire transfer confirmation), and proof of homeowners insurance. Order homeowners insurance to begin on closing day. Confirm utility transfer dates for electric, water, gas, and internet. Confirm utilities transfer to your name on closing day. Take a final reading of utility meters on closing day. Verify the builder has obtained a certificate of occupancy.
Final walkthroughs and third-party inspections are crucial for identifying defects. Don't skip this step, even if closing feels rushed.
After move-in, change the locks within the first week. Stay organized by keeping your warranty documents, maintenance schedules, and subcontractor contacts in one folder.
ViSitemap provides printable home building checklist templates and calculators to help you track tasks, dates, and costs during these final weeks, when budgets tend to creep and details multiply.
Conclusion
Following a structured new home construction checklist turns a months-long process into a series of manageable steps.
Whether you decided on a production builder in a planned community or a custom build on a private lot, the same principle applies: the more organized you are at each phase, the fewer surprises you face at the finish line.
Print your checklist, bring it to every site visit, and hold your builder accountable from the first permit to the last coat of paint.